How to Apply Wood Texture in Maya?
Creating realistic wood textures in Maya is essential for achieving lifelike models, especially when working on environments or props that require a natural and earthy appearance. In this article, we will explore how to effectively apply wood textures in Maya, a popular 3D software used by artists and designers worldwide. We'll guide you step-by-step through the process of texturing, ensuring you can achieve stunning, realistic results.

Understanding Textures and UV Mapping
Before diving into the specifics of applying wood textures, it's crucial to understand the basics of textures and UV mapping. A texture is essentially an image or pattern applied to a 3D model to give it color, detail, and depth. For realistic texturing, especially for materials like wood, UV mapping is key. UV mapping is the process of unwrapping a 3D model into a 2D space so that textures can be correctly applied. A well-constructed UV map ensures that the texture fits your model without distortion.
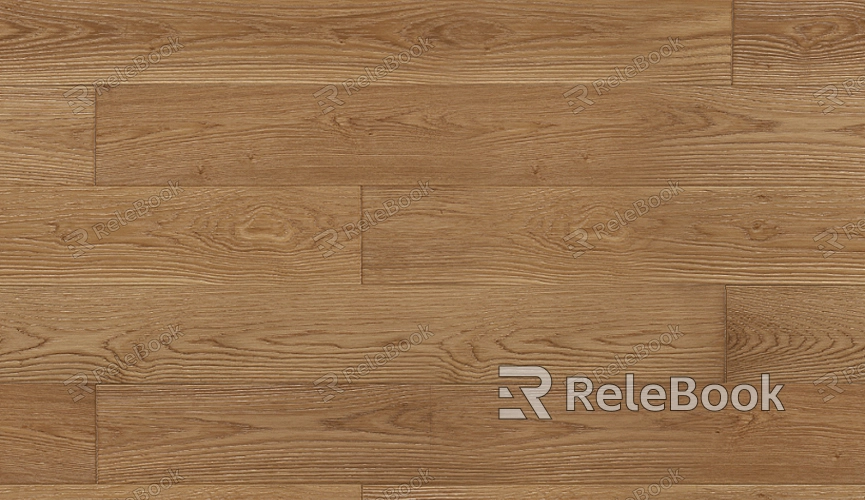
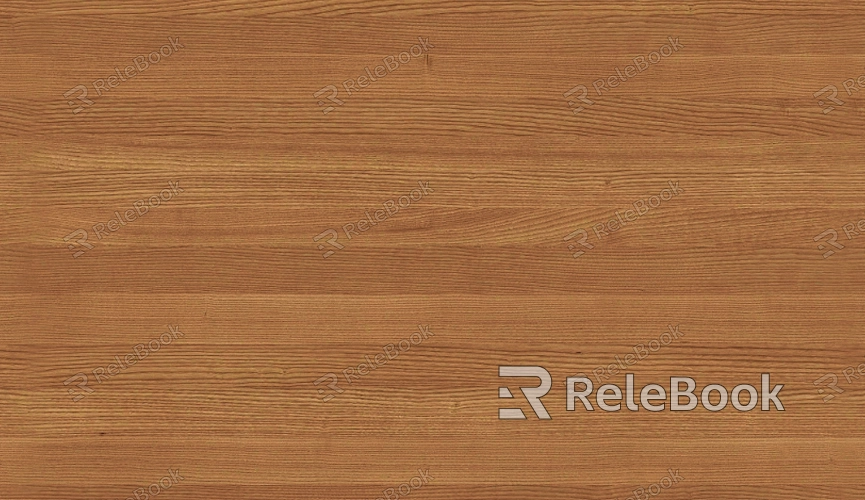
When preparing to apply wood textures, you need to either use a pre-made texture or create one that suits your specific needs. High-quality wood textures often come in various formats such as JPG, PNG, or TIFF, and they can be found online or made from photographs of actual wood surfaces.
Setting Up the Scene in Maya
To apply wood texture, first, you need to have a model to work with. If you don’t have one yet, create a basic object like a cube or a plane in Maya. Once your model is ready, you can start the texturing process.
Open Maya and navigate to the Hypershade window. This window is where you manage all materials and textures. Create a new material by right-clicking in the “Materials” section and selecting a Lambert or Blinn material, which is ideal for wood surfaces. These materials are non-reflective and can be easily manipulated for a matte finish that suits most wood textures. However, you can experiment with other shaders if you want a glossy or varnished effect.

Importing and Applying the Wood Texture
Next, import the wood texture you wish to use. To do this, in the Hypershade, select the material you created (e.g., Lambert or Blinn), and then go to the “Color” attribute. Click on the checkerboard icon next to “Color” and select “File.” This will allow you to browse your computer for the wood texture image you want to apply.
Once the texture is loaded, it will automatically be displayed on your model, but it may not look realistic just yet. Depending on the size of your texture and how it's applied, you might need to adjust the UV mapping to make sure the texture appears seamless and fitting on the model.
Adjusting the UV Mapping for Wood Texture
After applying the texture, you’ll often find that the UV map needs adjustments. You can do this by selecting the model and using the UV Editor in Maya. This tool allows you to see how the texture wraps around the 3D model and gives you the freedom to scale, rotate, or reposition the texture to get the best fit.
If you’re working with a complex object, you may need to create multiple UV shells, each of which will correspond to different parts of the model. For instance, for a wooden chair, one UV shell may correspond to the seat, while another shell could wrap around the backrest. Properly scaling and aligning these shells will ensure that the wood grain flows naturally across the model.
Enhancing the Texture with Bump or Normal Maps
For added realism, consider using bump or normal maps in conjunction with your wood texture. These maps simulate depth and surface detail without altering the actual geometry of your model. For wood, these maps are especially useful in creating the illusion of wood grain, knots, and other natural imperfections.
To add a bump or normal map, go to the Hypershade and add a “Bump2D” or “Normal Map” node to your material. Link your bump or normal map texture to the node, and then adjust the strength to get the desired effect. These maps will create the illusion of roughness and depth on the wood's surface, which adds to the overall realism of the model.
Fine-Tuning the Wood Shader Properties
Once the texture is applied and the UV mapping looks good, you’ll want to fine-tune the material properties to make the wood surface appear as realistic as possible. Adjusting attributes such as specularity, reflection, and transparency will change how the wood interacts with light and give it the appropriate finish.
For a matte wooden surface, reduce the specularity value to ensure that the surface doesn’t reflect light too strongly. On the other hand, if you want a glossy, varnished wood look, increase the specularity and reflection values to simulate a shiny surface. Additionally, you may want to tweak the roughness value to make the wood look smoother or more textured, depending on the type of wood you are simulating.
Adding Realistic Lighting
Lighting plays a huge role in making your wood texture look lifelike. Without proper lighting, even the best textures can appear flat and unconvincing. To enhance the appearance of your wood texture, experiment with different lighting setups in Maya. You can use a three-point lighting setup, which consists of a key light, fill light, and rim light, or opt for an HDRI environment light to simulate realistic outdoor lighting conditions.
By adjusting the intensity, color, and position of your lights, you can bring out the nuances of the wood texture, such as its grain and imperfections. Soft, warm lighting is typically ideal for wood textures, as it mimics the natural light found in interior spaces.
Using Multiple Textures for Complex Wood Materials
Sometimes, you may want to apply multiple textures to create a more complex wood material. For example, you might have a base wood texture and then apply additional textures for wood grain, dirt, or even wear and tear. To do this in Maya, use layered shaders or blend multiple materials.
Layered shaders allow you to combine different textures using a mask or blend them in specific areas of the model. For instance, a second texture with dirt can be used to create wear in the areas where the wood would naturally show signs of use, such as edges or corners.
Applying wood textures in Maya involves more than just slapping an image onto your model. It requires a careful understanding of UV mapping, shader properties, and the use of advanced techniques like bump and normal mapping. By following the steps outlined above, you can achieve highly realistic and visually compelling wood textures for any 3D project.
To further enhance your projects, you can explore and download various 3D models and textures from the Relebook website, which offers a range of high-quality assets for your design needs.
FAQ
What is the best wood texture to use in Maya?
The best wood texture to use depends on the type of wood you're trying to simulate. For realistic results, high-resolution textures with details such as knots, grain, and natural imperfections work best. You can find these textures online or create your own from high-quality photographs.
How do I avoid stretching the wood texture when applying it to a 3D model?
Stretching occurs when the UV map is not correctly aligned with the texture. To avoid this, make sure your UV map is properly unwrapped and each shell is appropriately scaled. Use the UV Editor to adjust and align the UV shells to match the wood grain.
How can I make my wood texture look more polished in Maya?
To achieve a polished wood look, increase the specular and reflection values in your material’s attributes. Additionally, use a high-quality bump map to simulate the smooth, shiny surface typically seen in polished wood.
Should I use a bump map or a normal map for wood textures?
Both bump maps and normal maps can add depth to your wood textures, but normal maps generally produce more detailed results. For wood textures, normal maps are especially useful for creating complex grain patterns and imperfections.
How can I create a custom wood texture in Maya?
You can create custom wood textures by photographing real wood surfaces or painting your textures in Photoshop or another image editing software. Afterward, import the texture into Maya and apply it to your 3D model using the methods outlined in this article.

